
Mantra RD Service Download and Install in Windows
We are discussing Mantra RD Service download and install process in this tutorial. If you are using Mantra MFS100 Fingerprint device, you have to install Mantra RD Service also in addition to Mantra MFS100 Driver. RD Service converts a Public Biometric Device to Aadhaar Registered Device.
If you are using ‘Secugen’ Fingerprint device, read this tutorial for the download and install details of its RD Service.
Mantra RD Service Download
First step is to download the Mantra RD Service software from the Mantra website. The website link and page is the same as the one we use do ‘Download Mantra MFS100 Driver‘.
To open the web page to download Mantra RD Service, follow the same instructions given in the section to download Mantra MFS100 Driver in this website.
The same ‘Mantra Products- Download‘ page opens as shown below.
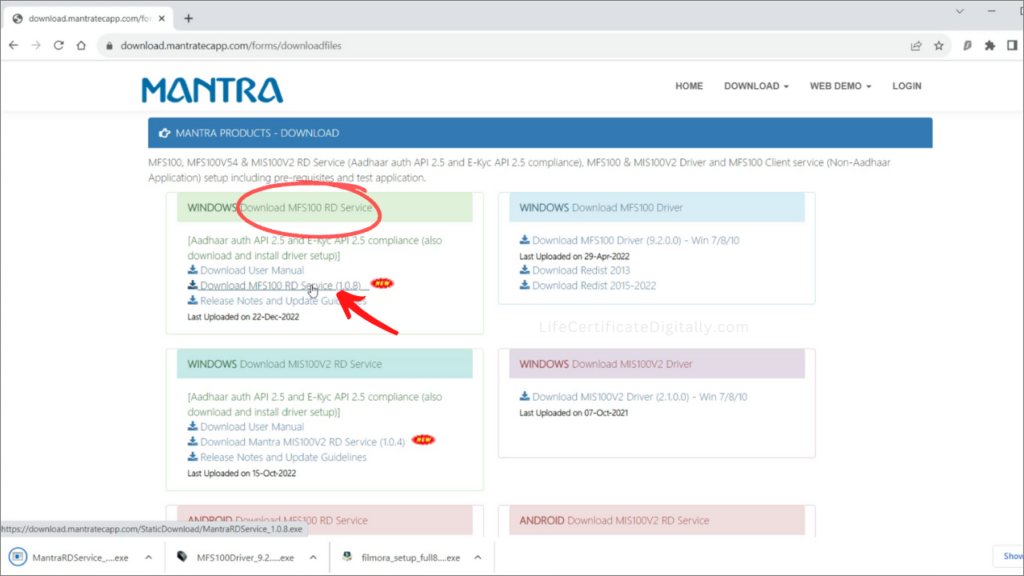
The Mantra MFS100 RD Service Download link is marked in the above picture. Click on this download link.
You can see the download status of the Mantra RD Service software in the bottom left corner of the web page in the browser as shown in the above picture.
Mantra RD Service Install
Mantra RD Service Install is the next step. Open the folder in which the Mantra RD Service software was downloaded.
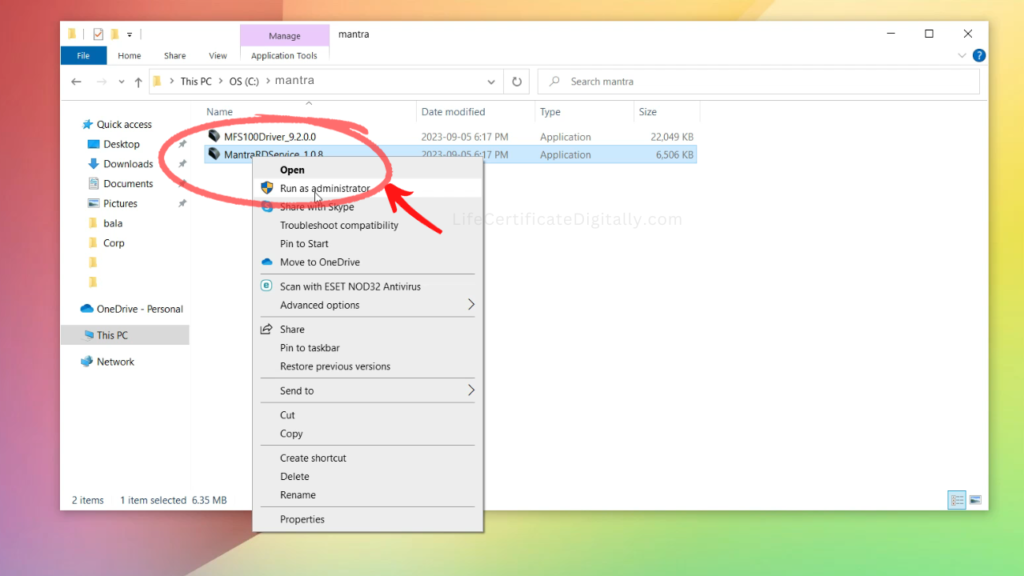
Find the downloaded Mantra RD Service application which is shown in the following picture.
Now right click on the Mantra RD Service and click ‘Run as Administrator’ and follow the instructions as shown below to install Mantra MFS100 RD Service.
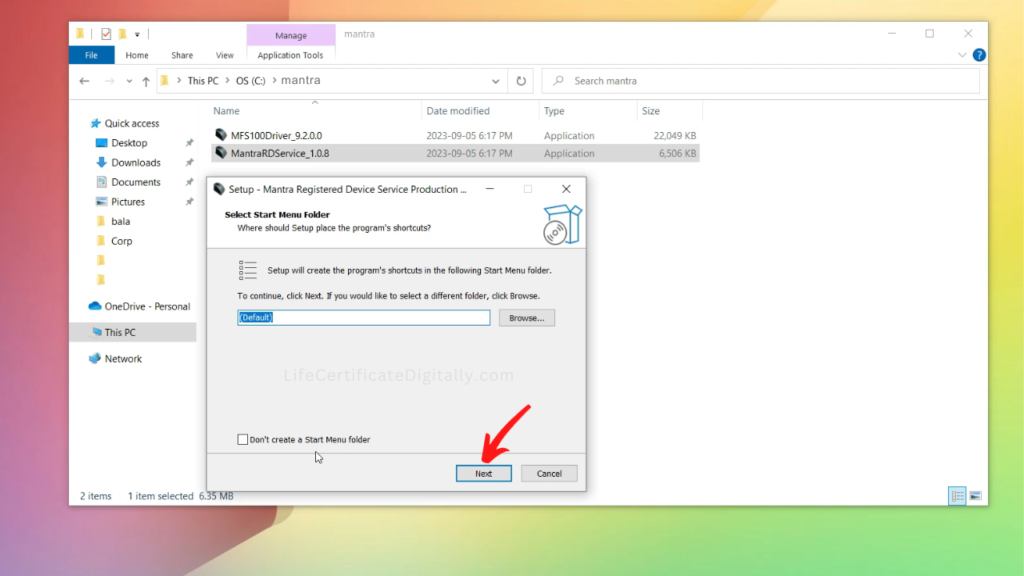
Click Next.
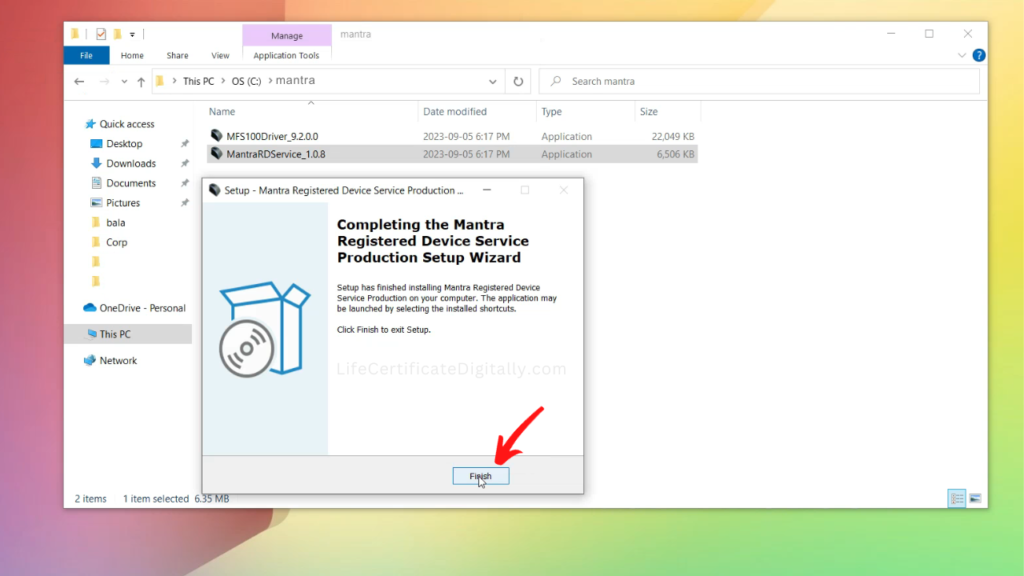
Click Finish to complete the RD Service setup wizard.
Restart Mantra RD Service
Now you have to open Windows Services Manager and Restart Mantra RD Service.
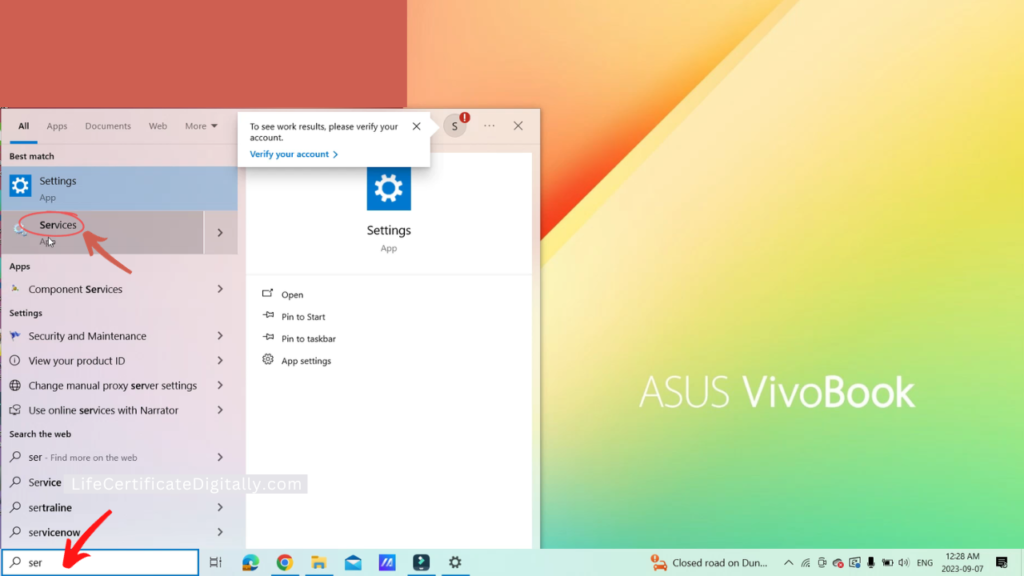
Start typing ‘services’ in the search box in the Windows task bar as shown in the following picture.
From the search results find the ‘Services‘ application and click on it as shown below.
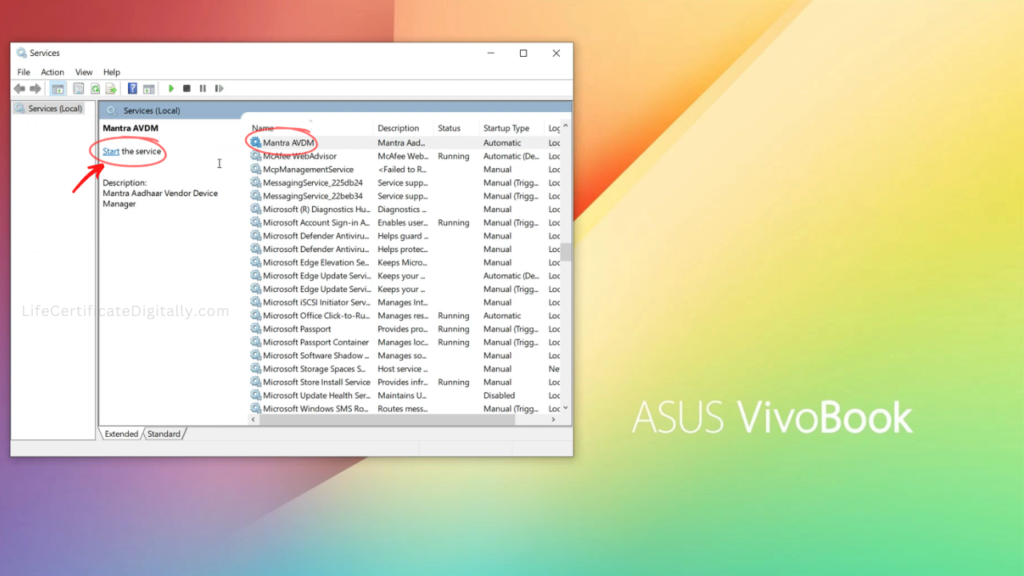
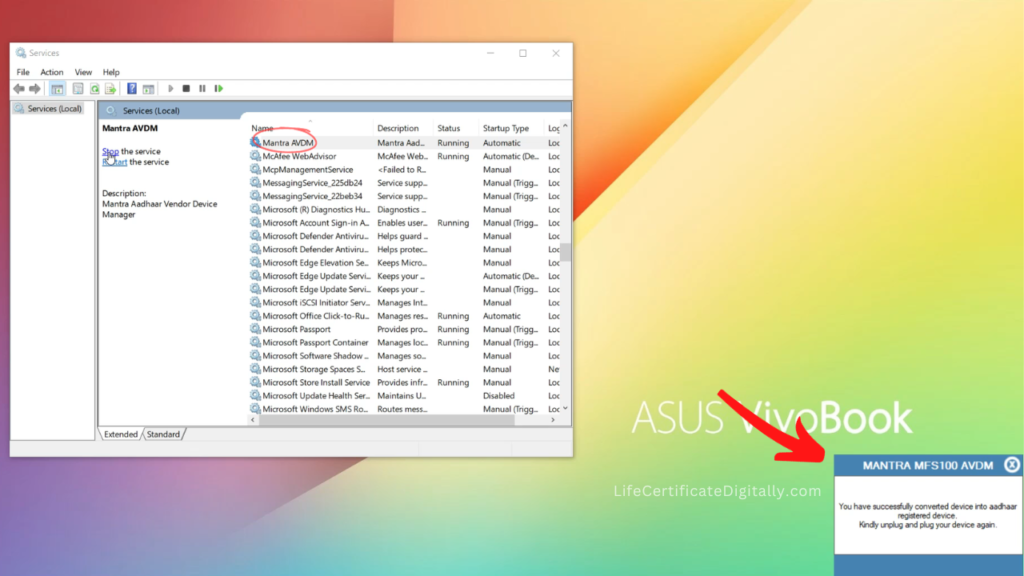
Now the Windows Services Manager opens. Scroll down and find the ‘Mantra AVDM‘ (Mantra Aadhaar Vendor Device Manager) service as shown below.
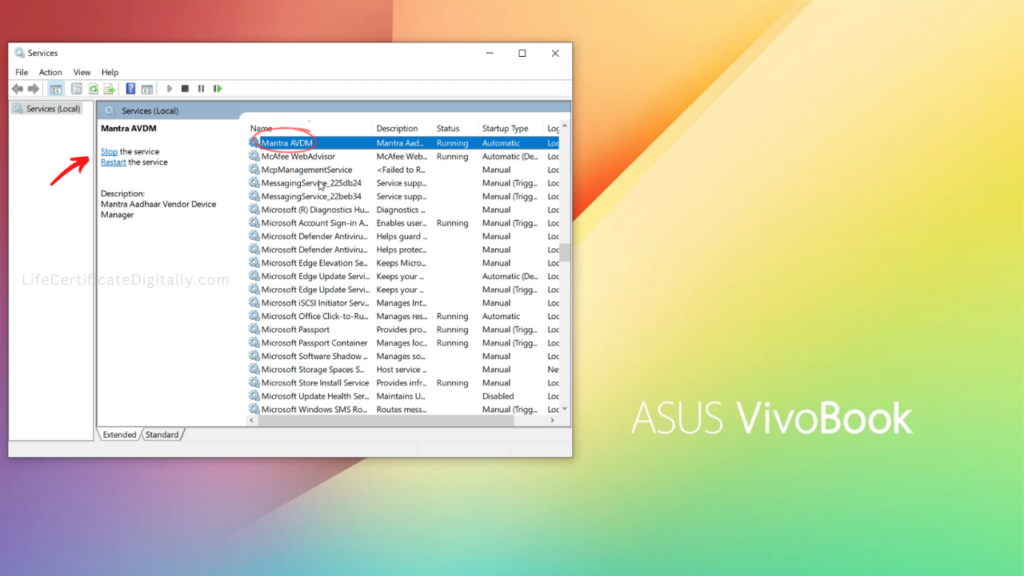
Its status is ‘Running‘. To restart Mantra AVDM service, you can either click on ‘Restart the service’ or first click on ‘Stop‘ the service and then ‘Start‘.
Here, we have clicked on ‘Stop‘ the service.
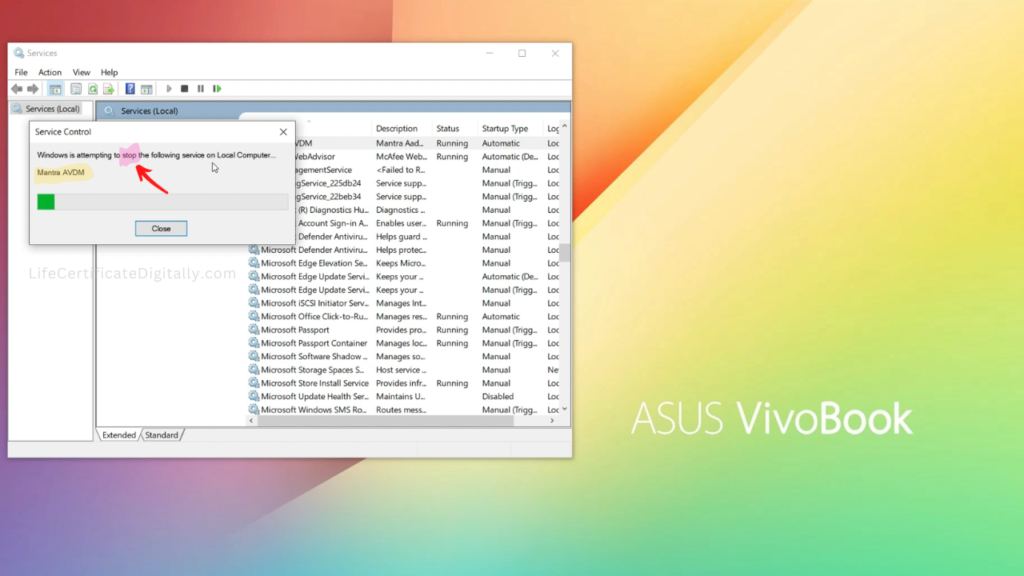
Now you can see the message displaying that Windows is attempting to ‘Stop’ the Mantra AVDM service.
Now click on ‘Start‘ the service. See that the ‘Running’ status is not shown now.
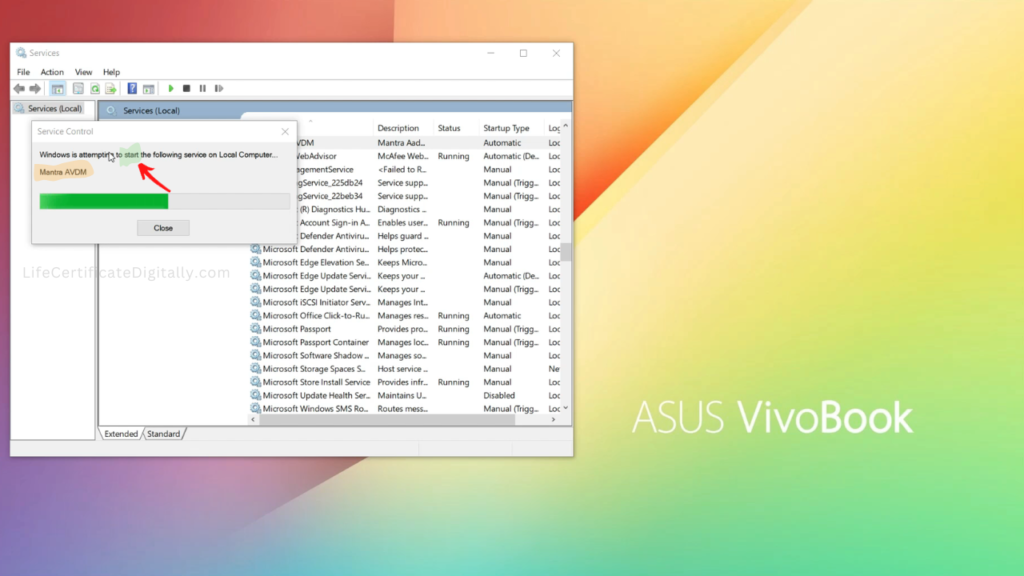
Now you can see the message displaying that Windows is attempting to Start the Mantra AVDM service.
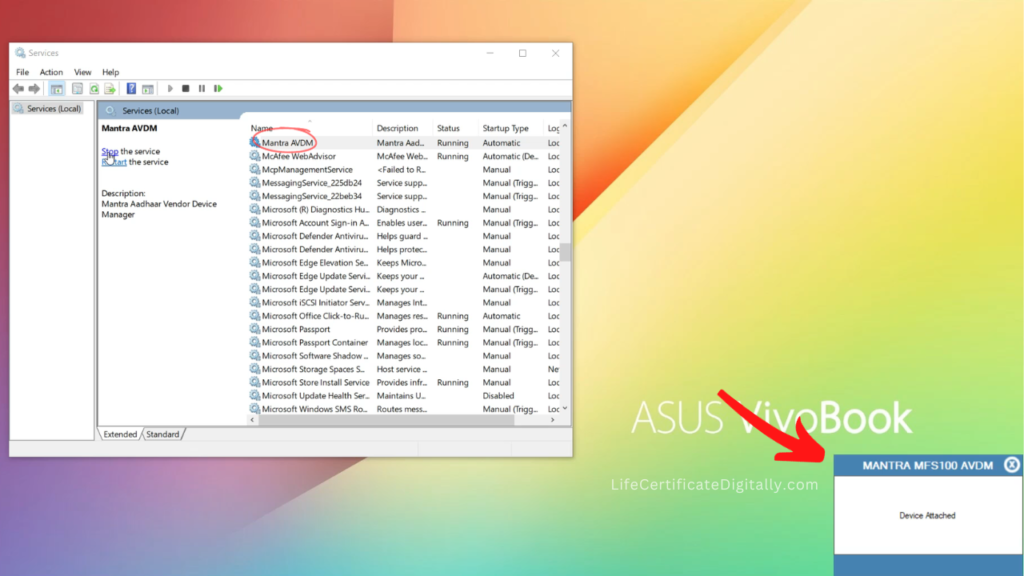
Now you see a message box in the bottom right displaying ‘Mantra MFS100 AVDM Device Attached‘. Mantra AVDM status is again ‘Running‘
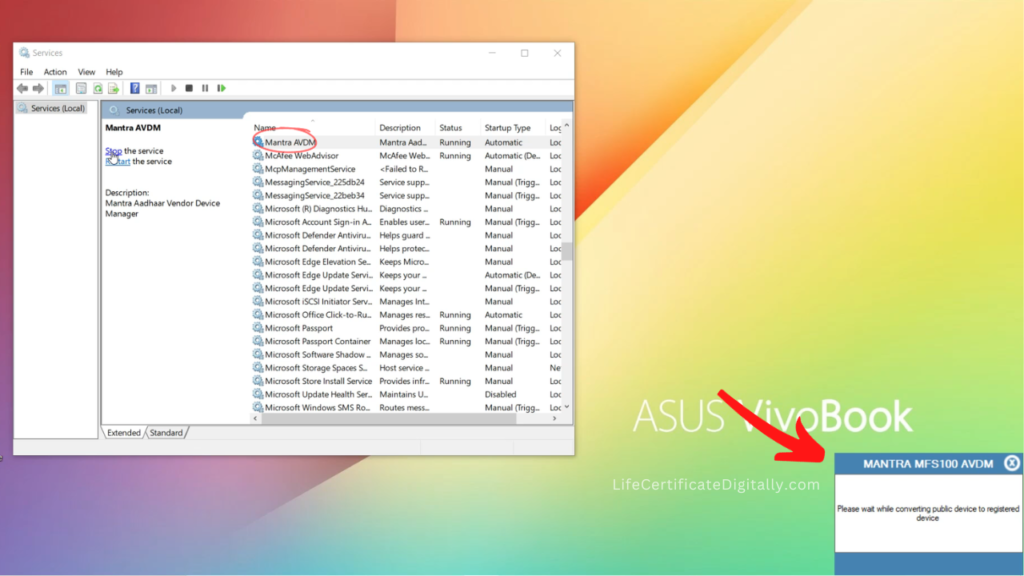
Now the message box displays ‘Please wait while converting public device to registered device‘ as shown below.
Now the message box should display this message ‘You have successfully converted device into Aadhaar Registered device. Kindly unplug and plug your device again‘ as shown in the diagram below.
But instead of this message, if you see an error which says “Error 214: Invalid datetime or timezone of system“, please follow these steps which will resolve Error 214.
Now you have to unplug and plug your Mantra MFS100 device again. After you do that the message box will display ‘Device Attached‘ message again.
The Mantra RD Service setup is complete. You can now download and install Jeevan Pramaan application and submit Digital Life Certificate.